Cleaning and Prepping the Radiator Area
Before diving into the decorating process, you may want to consider removing the radiator from the wall. However, always have a professional handle the disconnection. If you’re coating the radiator in place, protect the surrounding area with dust sheets and place cardboard between the radiator and the wall to prevent any paint mishaps. Make sure the radiator is turned off and completely cold before starting.
How to Prepare your Radiator
Proper surface preparation is key. Sand the radiator by hand with sandpaper, focusing on hard-to-reach areas. Ensure the surface is smooth and free of old paint, as any imperfections will be visible once the paint is applied. After sanding, clean the radiator thoroughly with warm, soapy water to remove all dust. Cover valves and vents with masking tape to protect them while you work.
Priming the Radiator
Applying a metal primer is crucial. It not only covers exposed metal but also creates a smooth base for the paint. Use a specialized metal primer like Zinsser Coverstain or Tikkurila’s Otex Adhesion Primer for the best results.
Tips for applying the paint to your Radiator
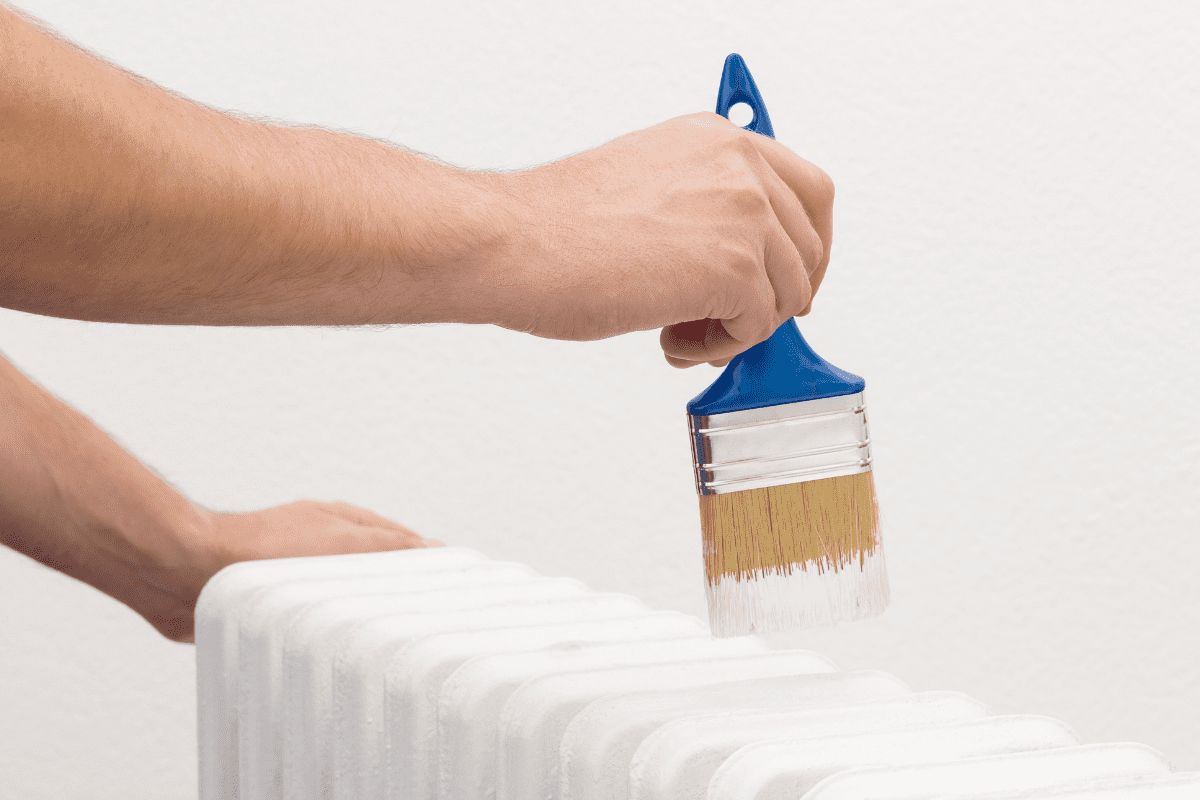
Use a synthetic brush and apply the paint in thin, even coats, waiting 24 hours between each layer. Start by coating the radiator’s edges, then move to the front, brushing vertically. Thin coats provide a smoother finish than thick ones, so resist the urge to apply too much paint at once. Allow 24 hours before turning the radiator back on.
Choosing the Right Paint for Radiators
Select a paint designed for metal surfaces that can endure high temperatures. We recommend a satinwood finish, like Isle of Skye’s ‘Skye Satin,’ which is easy to apply and creates a wipeable surface—ideal for kitchens and bathrooms. For a smoother finish, you might opt to spray paint your radiator instead.
For a free quote on your decorating project, contact the Hamill Decorating team or book an appointment on our contact page.