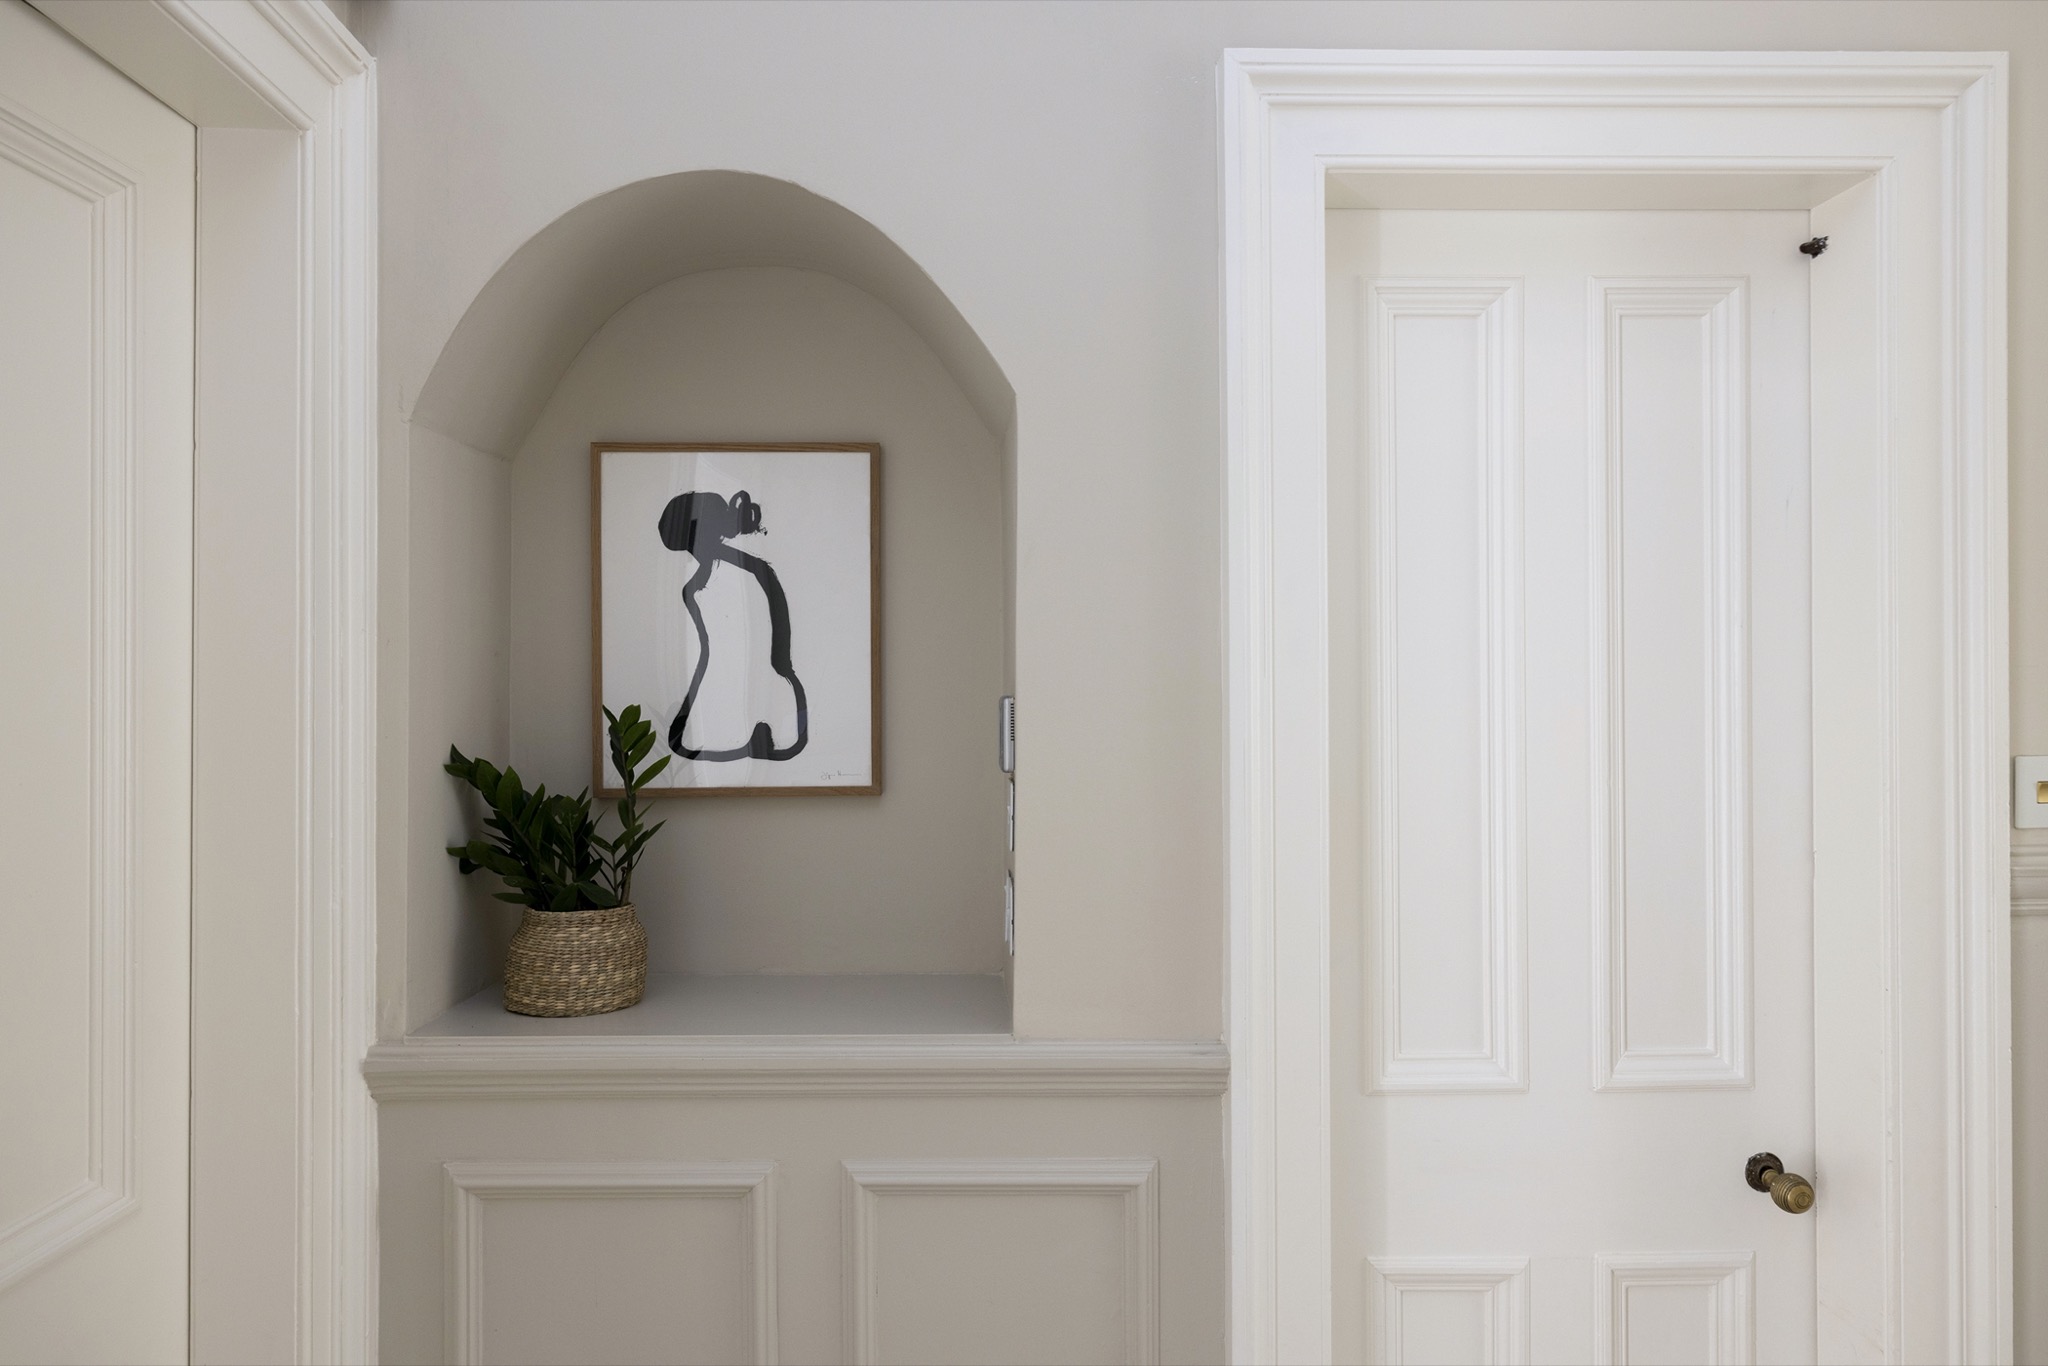
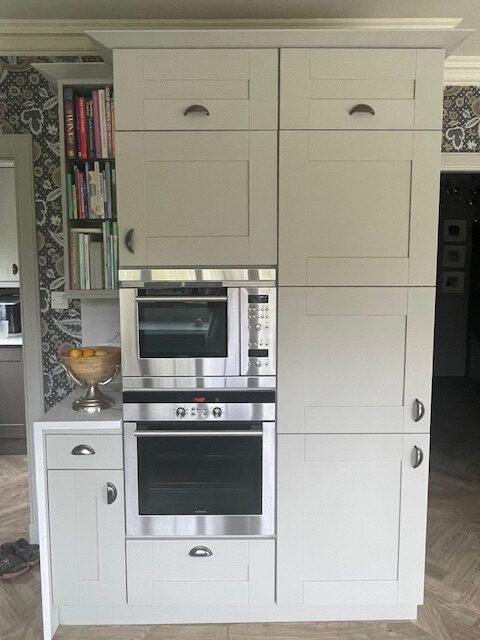
Surface Preparation for a Flawless Paint Finish
Surface preparation of woodwork for painting is one of the most important steps in ensuring a smooth, long-lasting finish. Proper preparation can mean the difference between a flawless paint job and one that chips and peels over time. Understanding how to prepare woodwork properly will allow you to deliver top-quality results that everyone will appreciate. In this guide, we’ll break down the steps to get your woodwork ready for painting.
1. Gather Your Tools and Materials
Before you begin, make sure you have all the necessary tools and materials. These include:
- Sandpaper (medium and fine grit)
- Scraper or putty knife
- Sugar soap or cleaner
- Masking Tape
- Dust sheets
- Wood filler (if needed)
- Primer
- Paint (topcoat)
- Brushes (or sprayer, if preferred)
- Tack cloth (to remove dust)
Having everything on hand will save you time and keep the work area organized.
2. Clean the Woodwork
The first step in preparing woodwork for painting is cleaning the surface. Dirt, grease, and dust can all hinder the paint from adhering properly. Use sugar soap or a cleaner designed for this purpose. Apply it to the wood with a sponge or cloth and gently scrub to remove any buildup.
- Rinse with clean water to remove any cleaner residue.
- Wipe down with a dry cloth to ensure the surface is completely dry before moving on.
3. Inspect the Wood for Damage
Next, examine the wood carefully for any damage. Check for dents, cracks, or holes. Small imperfections can be easily fixed, but neglecting them can affect the final result.
- Fill Cracks and Holes: Use a high-quality wood filler to fill any gaps. Apply it with a putty knife and smooth it out. Once it dries, sand it down to ensure a level surface.
- Repair Larger Damages: For deeper gouges or significant damage, consider replacing the damaged section of wood or patching it with wood epoxy.
4. Sand the Surface
Once the wood is clean and repaired, it’s time to sand it down. Sanding is essential for a smooth finish to your surface preparation. It forms a key and helps the paint adhere better.
- Start with Medium Grit Sandpaper (80-100 grit): This will help remove any old paint or rough patches. Sand with the grain to avoid scratches and maintain the wood’s natural texture.
- Finish with Fine Grit Sandpaper (180-220 grit): After smoothing out the rough areas, switch to fine-grit sandpaper for a smooth, even surface. Be gentle to avoid damaging the wood.
- Don’t Skip This Step: Skipping sanding can lead to an uneven paint job. Even if the wood appears smooth, sanding will create the perfect surface for paint adhesion.
5. Clean Up the Dust
After sanding, there will be dust everywhere. It’s essential to clean it up thoroughly before applying primer.
- Use a Tack Cloth: Gently wipe down the wood with a tack cloth. This will remove the fine dust that sanding leaves behind. It ensures that no particles will interfere with the paint application.
6. Apply Masking Tape
If you’re not a professional, masking tape is essential for clean, crisp edges around the woodwork, especially where it meets walls or trim. Take the time to apply the tape carefully, ensuring it’s straight and pressed down well to prevent paint from bleeding underneath.
- Use High-Quality Masking Tape: It’s worth investing in a good-quality tape that won’t leave residue or peel off the paint when removed.
- Apply Tape to Edges: Focus on corners, along baseboards, and where the woodwork meets the ceiling or walls.
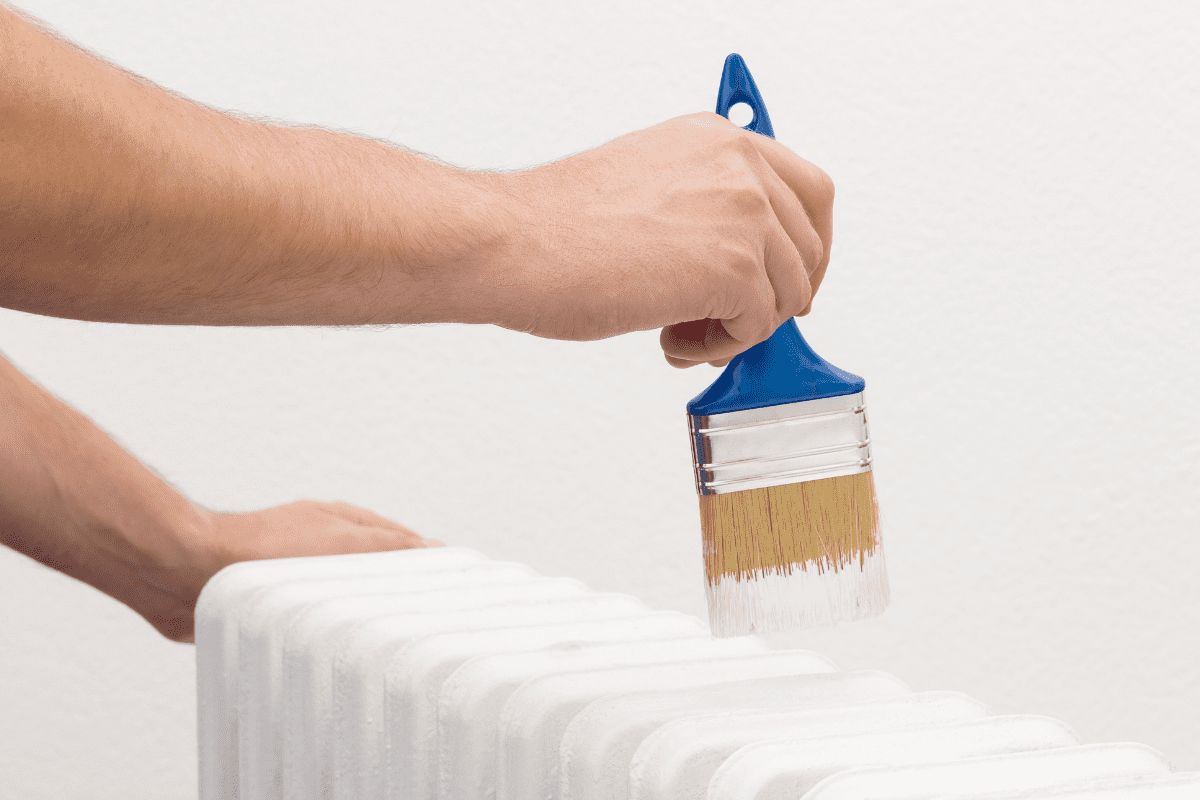
7. Prime the Woodwork
Priming is crucial for two reasons: it ensures better paint adhesion and helps the topcoat go on smoothly. Choosing the right primer is essential based on the type of wood you’re working with.
- Oil-Based Primer: Ideal for softwoods or woods with knots (like pine), as it helps seal the wood and prevents tannin stains from bleeding through the paint.
- Water-Based Primer: Suitable for most hardwoods and provides a smoother, more even base for your topcoat.
Apply the primer using a brush or roller, depending on the area you’re covering. Ensure even coverage and allow the primer to dry completely before moving on to the next step.
8. Sand Again (Lightly)
Once the primer has dried, it’s a good idea to lightly sand the surface again. This step will remove any raised grain or brush strokes that may have occurred during priming. Use fine-grit sandpaper for this step and sand gently.
- Dust Off the Surface: After sanding, make sure to wipe down the woodwork again with a tack cloth to remove any dust before painting.
9. Apply the Topcoat
Now that you have completed your surface preparation, you’re ready to apply the topcoat. The choice of paint will depend on the desired finish and the type of wood. For most woodwork, a satin, semi-gloss, or gloss finish works well. These finishes are durable and easy to clean, which is especially important for areas like trim, doors, and window sills.
- Apply Thin, Even Coats: It’s better to apply multiple thin coats rather than one thick coat. This ensures better coverage and reduces the chance of drips or streaks.
- Allow Drying Time: Let each coat dry thoroughly before applying the next. Follow the manufacturer’s drying time instructions.
10. Final Touches
Once the final coat is dry, carefully remove the masking tape. Pull it off at a 45-degree angle to avoid peeling the paint. Check for any touch-ups that might be necessary and correct them before completing the project.
- Inspect the Edges: Ensure the lines are clean and sharp. If necessary, use a small brush to fix any imperfections.
Conclusion
Properly preparing woodwork for painting is a time-consuming but essential part of the decorating process. By following these steps—cleaning, sanding, priming, and applying the topcoat carefully—you ensure a professional and long-lasting finish. With attention to detail and the right tools, you can transform any wood surface into a beautiful and durable feature in your home.